 |
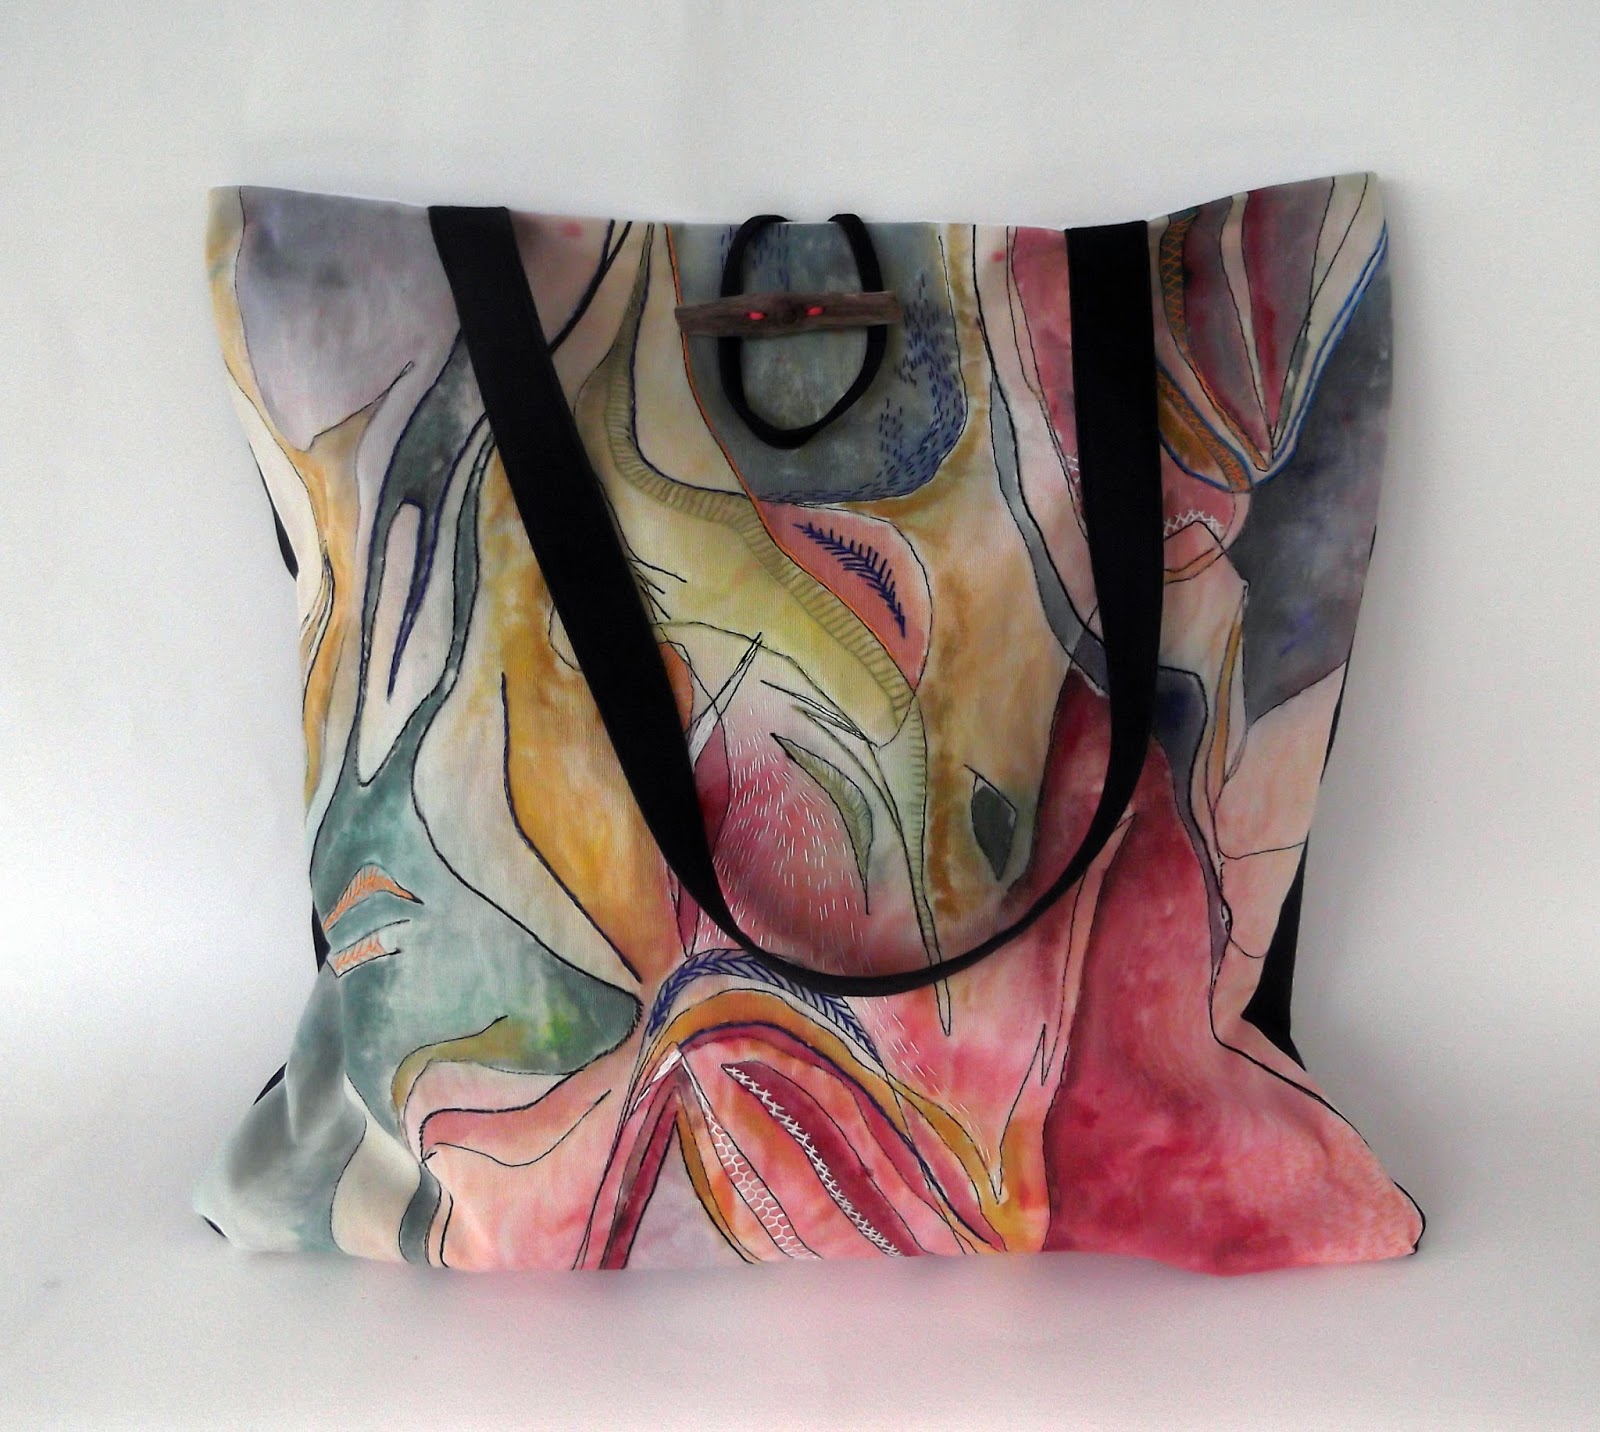
| Hand painted and embroidered bag |
1. Cut two pieces of fabric of equal size (size to be determined by the size you'd like the finished product to be)
 |
| The exterior, front piece |
 |
| The exterior back piece |
2. Cut two more pieces of inner fabric, same size as the outer fabrics.
 |
| The lining pieces |
3. Make a toggle button from a beach driftwood piece (instructions here). Fold the fabric half lengthwise to find the middle. Attatch the toggle button with thread.


4. Make two handles, around 22'' each. (instructions here)

5. Pick a handle and place it on the top edge of the exterior fabric. Measure in 4'' from bag sides for handle placement and make sure handles are not twisted. Baste the pieces together near the edge and/or pin them together.


6. Bring next to the front fabric one of the inner fabrics.

7. Lay the inner fabric on top of the outer fabric (right sides together) and align their edges. Pin the fabrics together and sew with a 1/4'' seam allowance the top edge.

8. Unfold and press the seam with the iron.

 |
| The top edges of the outer and inner fabric are sewn together. |
9. Pick the outer back piece and baste a small strip at the top edge (The strip is for the toggle button). 

10. Pick the second handle and place it on the top edge of the back, exterior fabric. Measure in 4'' from bag sides for handle placement and make sure handles are not twisted. Baste the pieces together near the edge and/or pin them together.

11. Bring next to the back piece the second inner fabric.

12. Lay the inner fabric on top of the outer fabric (right sides together) and align their edges. Pin the fabrics together and sew with a 1/4'' seam allowance the top edge.

13. Unfold and press the seam with the iron.

14. Take the two, rectangular pieces with the attached hanldes and place them one on top of the other, with their right sides together.

15. Make sure the edges are aligned. Baste the fabrics together with thread or pin them.

16. With the sewing machine, stitch a 1/4'' seam all the way around the tote, leaving a 4'' opening. Through this hole, you'll turn the tote bag right side out.

17. Optionally, you can make a zig zag stitch to protect inner edges from further fraying. 
18. Place your hand inside the 4'' opening and pull fabrics and handles through this opening turning the bag right-side out.


19. Sew the 4'' opening with the sewing machine.

20. Press the bag with the iron to take its form.

The tote bag is ready.
 |
| Hand painted and embroidered bag |
 | |
|


