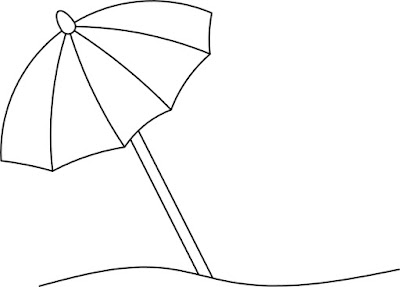
The sun umbrella is a fresh stitching design, that will convert a boring pillowcase into an outstanding, embroidered textile. The project is easy, suitable for those starters that want to practice three of the most basic stitches: straight satin stitch, back stitch & blanket stitch.
Materials and tools
- Needle and scissors
- Cotton thread (green, red and black)
- Carbon paper
- A pillowcase
1. Download and print the sun umbrella design. The original size is about 8cm width to 6cm height but you can make it smaller. However it is not advised to make it larger, since satin stitch is suitable for small areas.
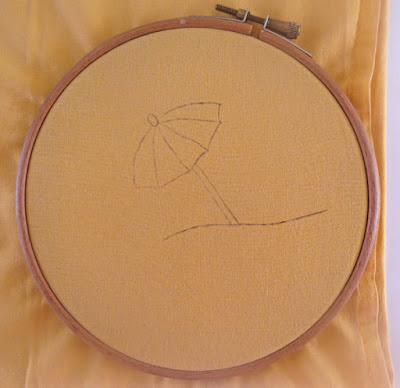
2. Transfer the design to the fabric using carbon paper. Hoop the fabric taut using an embroidery hoop.
3. Knot a green thread (6 strands). Pass the needle from front to back through point (1). Pull until your reach the knot. Bring the needle from back to front through point (2) and pull. This trick will allow you to secure the thread through and below the first stitches without making a visible knot to the back side.
4. You'll fill the area with straight satin stitches. Bring the needle back through point (3) and front through point (4).
5. Continue stitching with parallel satin stitches until you reach a few millimeters below the knot. It is time to cut the knot using an embroider's scissors.
6. Complete the first green area.
Note: If you turn the fabric upside down, you'll notice that there is no visible knot.
How to end the thread. When you complete an area or the thread become too short, you might need to end the thread. Instead of making a knot, turn the fabric upside down and pass the needle through and below a few previous stitches to secure the thread in place. Cut the excessive thread.
7. Fill the green areas of the umbrella with satin stitches. Work the stitches as close as possible. Be careful not to pull the thread too tight to avoid puckering the fabric.
8. Pick the red thread (6-strands) and fill the rest of the umbrella.
9. Now you are going to back stitch the rest of the design with a black thread (4-strands). To avoid making a knot turn the fabric upside down and pass the needle through & below a few previous stitches.
10. Back stitch the pillar, the outline and the curves inside the umbrella.
9. Finally, for the ground use a more decorative stitch, such as the blanket stitch.


No comments:
Post a Comment