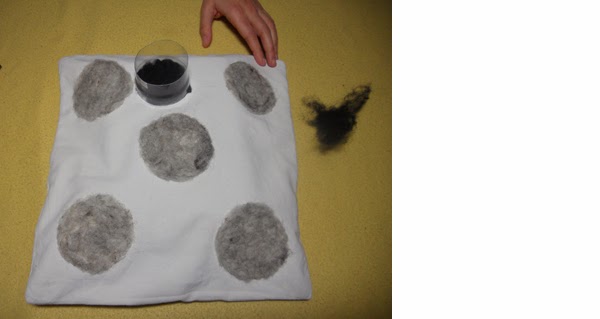
The project uses the method of attaching wool fibers (roving) on fabrics using stencils, cookie cutters or similar objects. At first the foundation fabric is placed on the work surface and then the cookie cutter in placed on the fabric. The interior of the cookie cutter is filled with fiber and the fiber is poked with the felting needle.
Materials:
- Fiber wool (merino wool).
- Fabric (a cotton cushion cover).
- Felting needle.
- A dense foam or a thick sponge.
- A cookie cutter or a sticky tape and a plastic bottle.
Step 1: Place the work surface (the foam or the sponge) into the cushion cover.
Step 2: Find a tube, for example a sticky tape. Lay the tube on the right side of the cushion.
Step 3: Cut gently with your hands, a small amount of fiber. Drag the fibers gently to separate them from each other.
Step 4: Add fiber into the tube. Poke with the needle repeatedly around the inside edge of the tube and then move in toward the middle. Add more fiber in thin areas and poke with the needle again.
Step 5: When finished, a well-defined circle will be shaped on the fabric.
Step 7: Following the same steps, make more wool dots to the cushion cover.
How to make smaller dots
Step 8: You need one more tube of different radius. Find a plastic bottle and cut it in three pieces. You can keep the middle piece and use it as a stencil.
Step 9: Create black wool dots with black roving. Poke with the needle to attach the roving on the fabric.
Step 10: Iron the surface well with steam. The steam will shrink the wool and will attach the fibers more steadily to the fabric.


No comments:
Post a Comment